
Materials (bought at Hobby Lobby): 1.5″ red woven ribbon, red thread, red felt, orange knit fabric (I already had this and did not plan to use it originally. It was bought at JoAnn’s,) white elastic (the heavy-duty kind for clothes NOT the kind for hair bows,) 2 colors of green tulle
Tools: piece of cardboard, scissors, sewing machine (did not plan to use originally– explanation below,) tape measure (the kind for sewing, to measure the chest for top and waist for tutu)
DIY #1: Red Woven Ribbon Top
They have wide versions (wide enough for the whole top in one piece) of this ribbon in other colors (pink, white, black) at Hobby Lobby but did not have red, so I bought the 1.5″ woven red ribbon to make my own top.

This is what I wanted it to look like when the top was finished. For this picture, I just wrapped it around EJ and pinned it with a safety pin in the back. If you were using it for just a picture, you could just pin it instead of sewing and save yourself a LOT of time.
This is the ribbon I used, bought at Hobby Lobby. I measured EJ’s chest and cut 5 pieces of the 1.5″ ribbon to that length.

I used red thread and went through all those little loops to weave the ribbon pieces together. This took quite a bit of time, but I do like the finished look. BEWARE: Make sure that you tie the ends REALLY well, probably through a couple of loops. I had some that started to unravel when the last loop was pulled so I had to go back and weave them together again. If I make a top like this again, I would knot the string and sew the ends together before starting to weave the two strips of ribbon together. 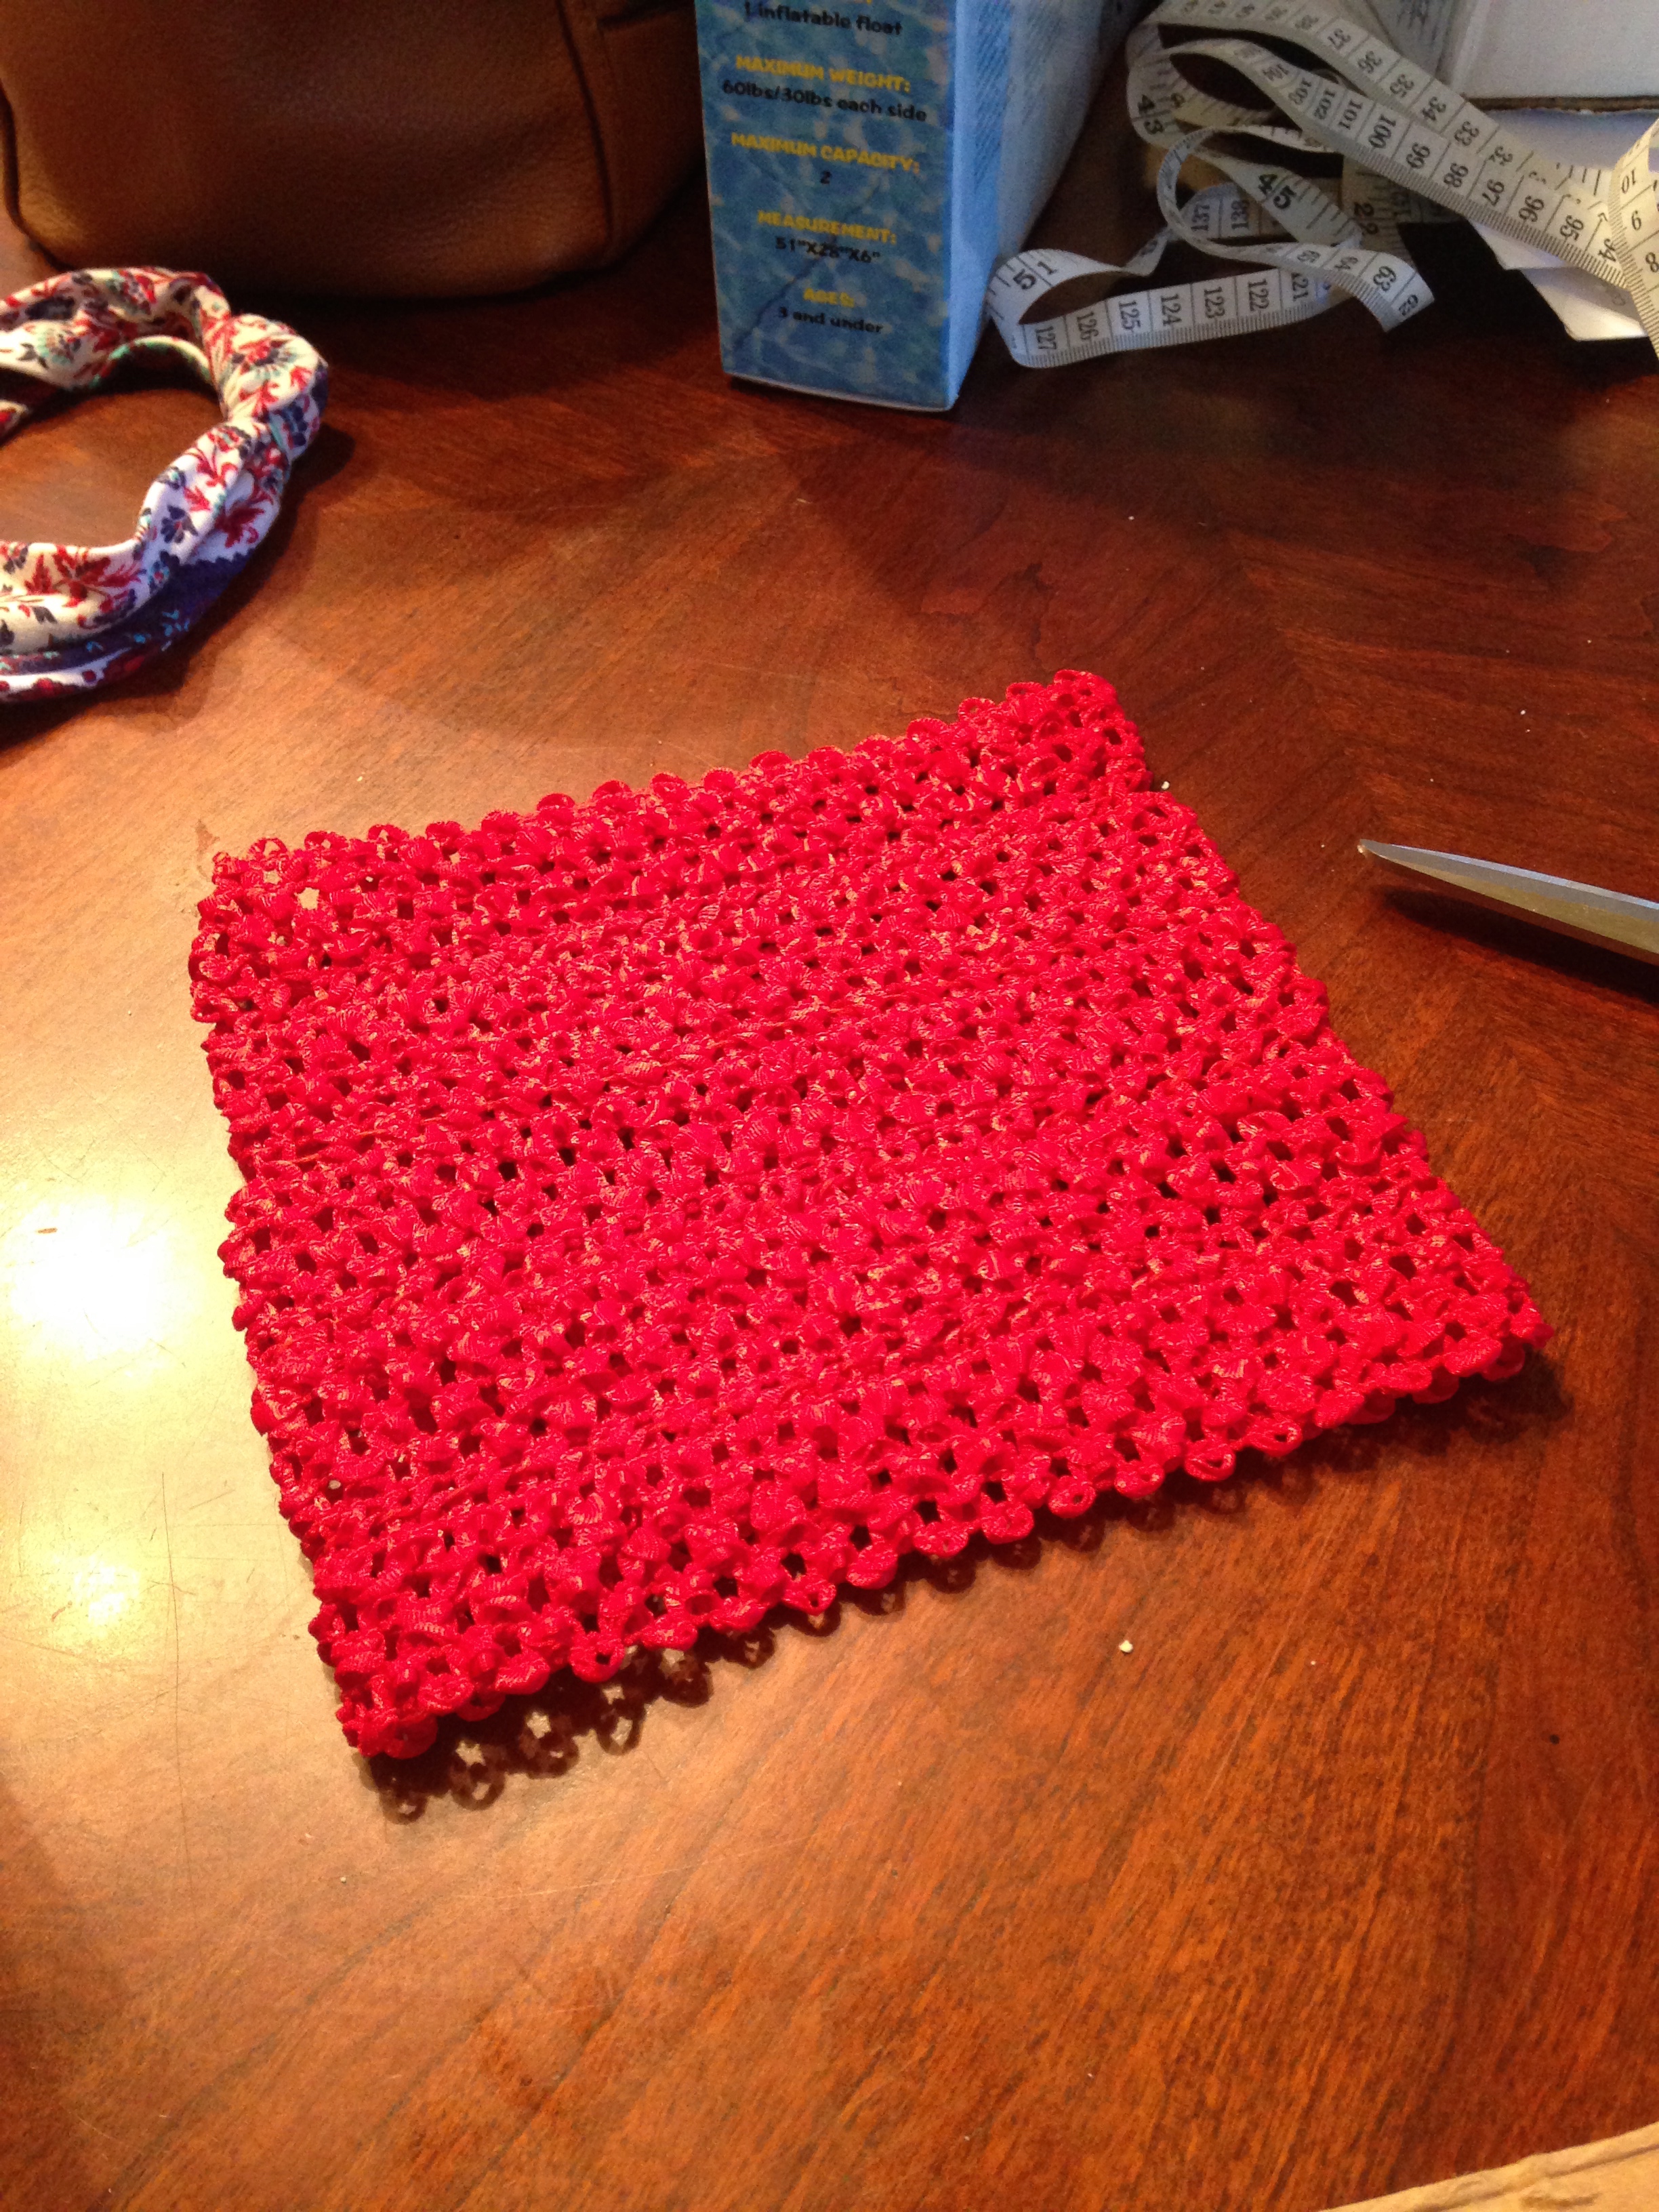 Insert DIY FAIL 😦 I sewed the ends together to make an EJ-sized tube top. The thread was not stretchy, so I could not get it over her head. I had to cut it apart and come up with a new way to get it to stay on her little body.

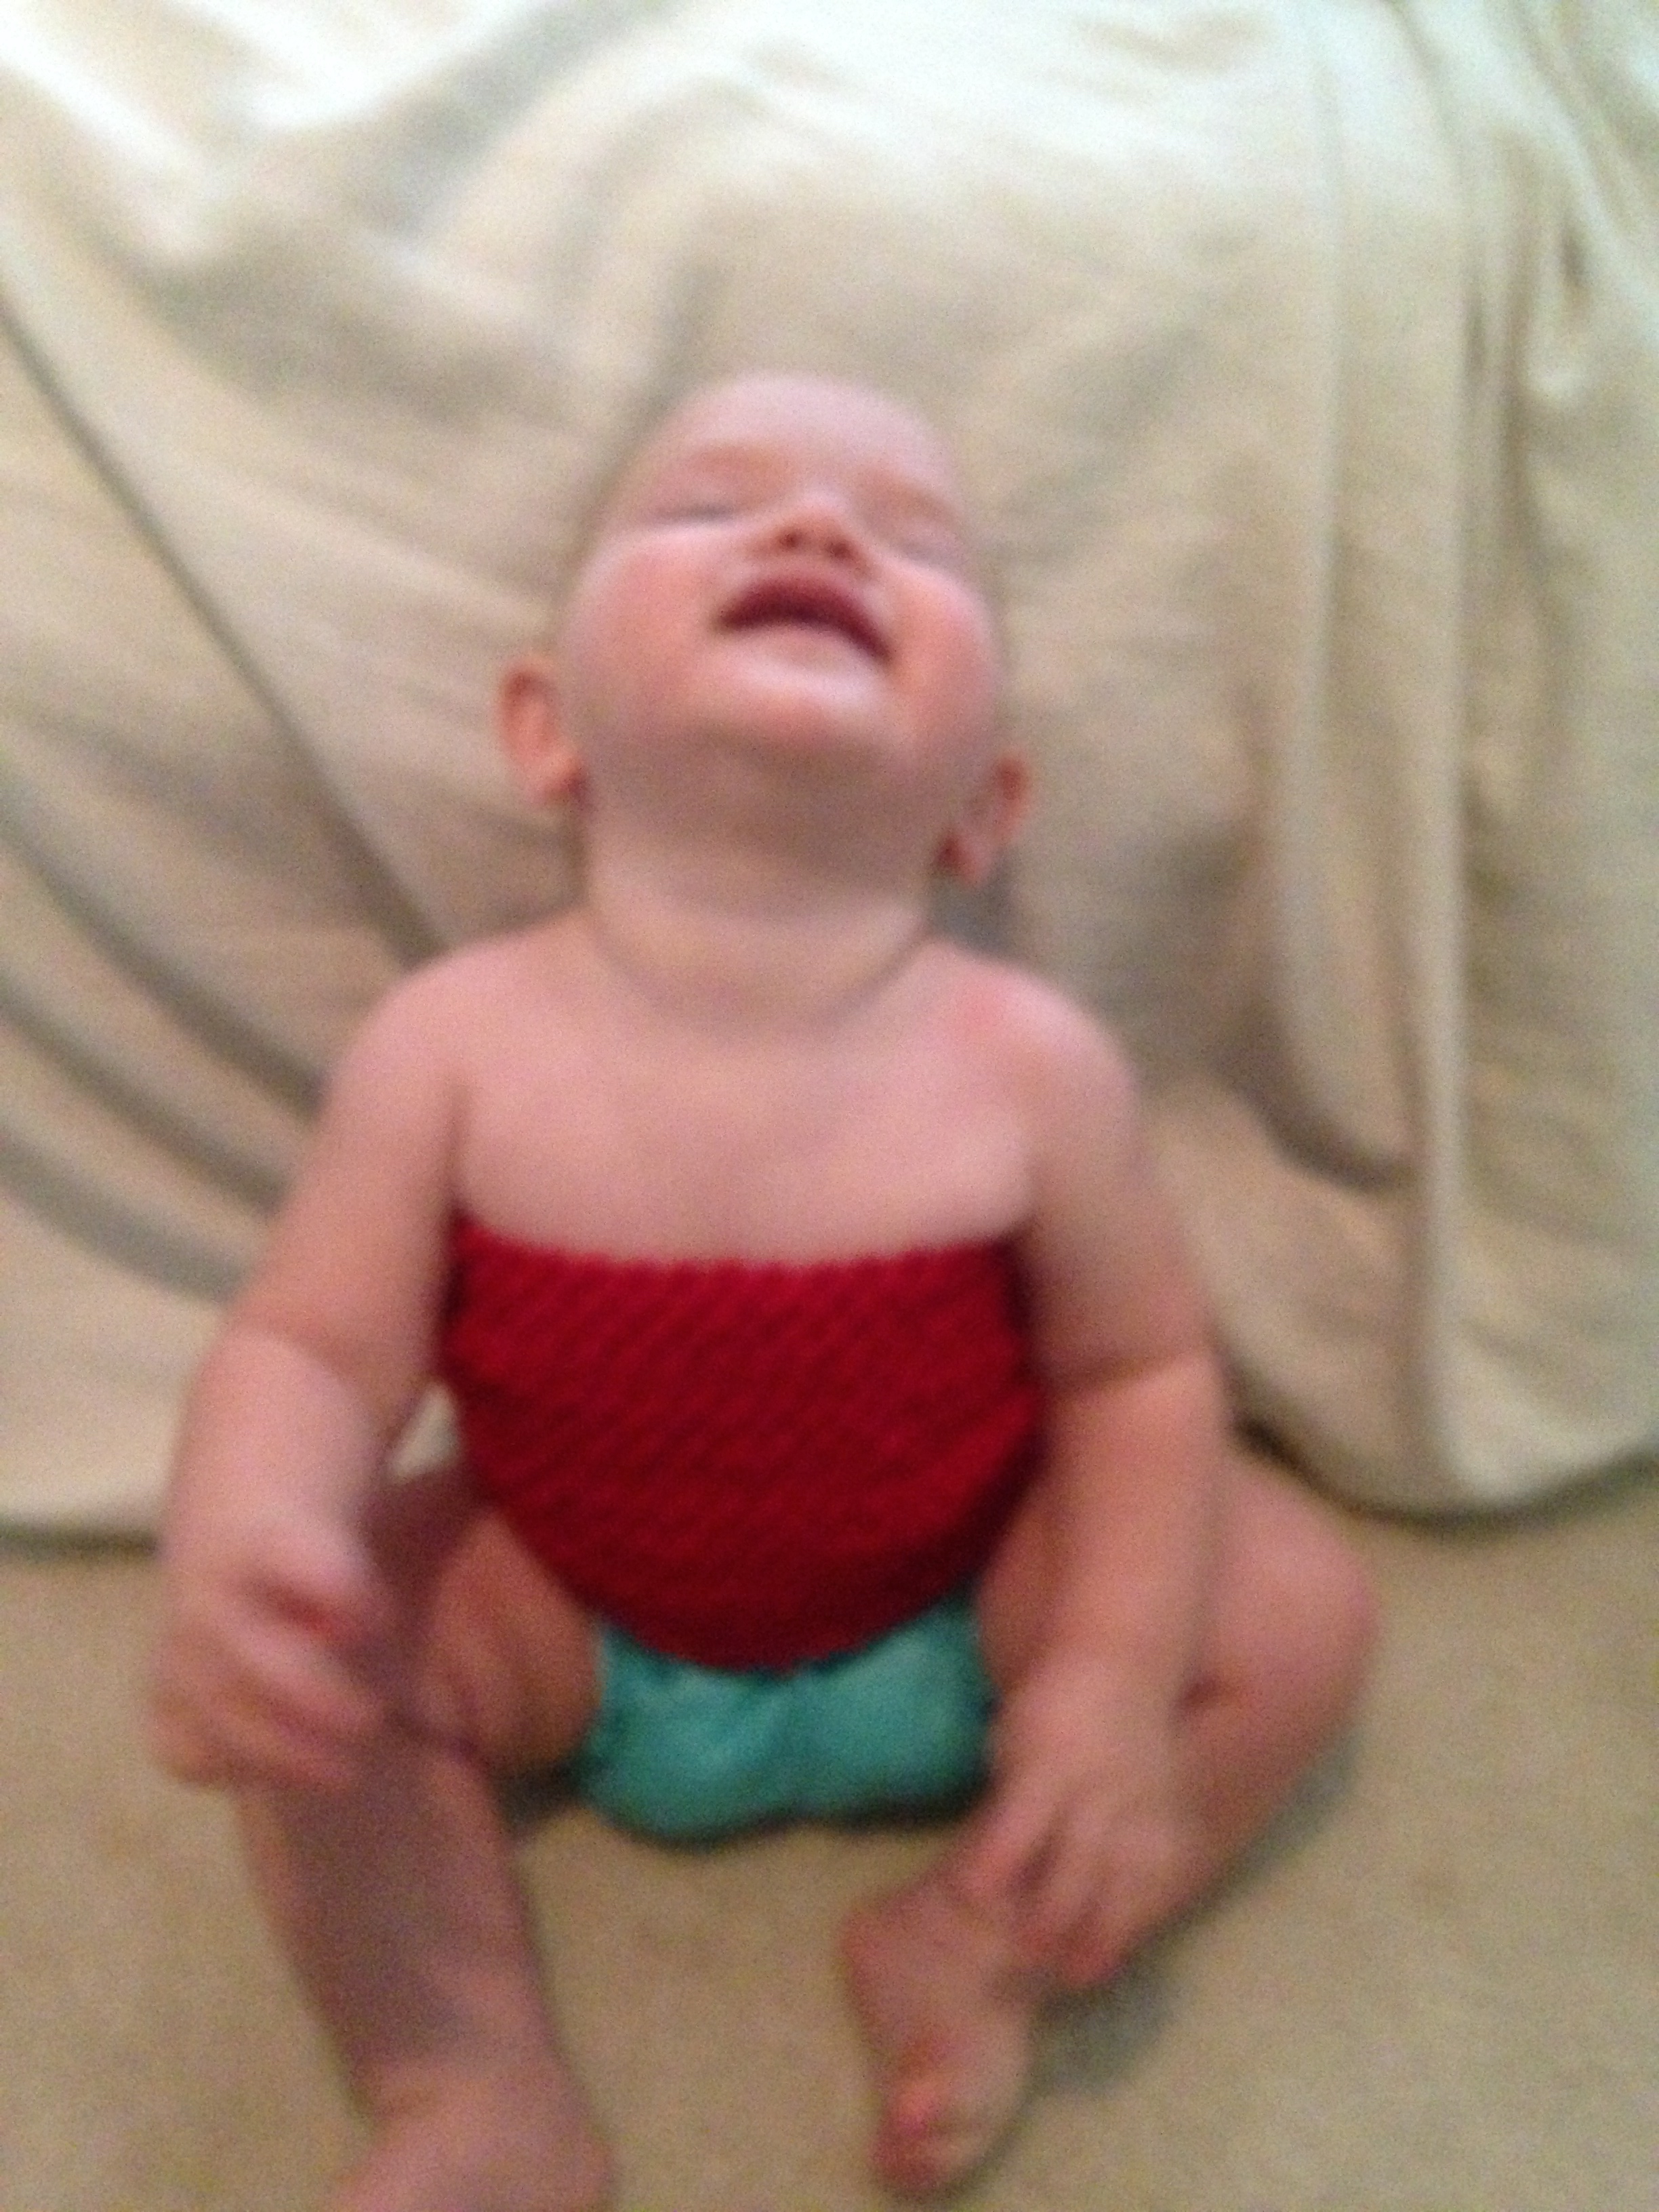
The new way was not pretty but it worked. This picture was taken when I was trying out my new idea. In this picture, I pinned the sewn-together ribbon “top” to a piece of orange stretchy knit fabric. I cut strips into the orange fabric so that it could be tied together to hold the top to her chest. I’m just using this for pictures and MAYBE for cake-eating so I was not concerned with how it looked in the back because no one will see the back.
To keep the orange fabric from showing through the ribbon, I used hot glue and glued a piece of red felt between the red ribbon “top” and the orange knit fabric. Then, I used my sewing machine and sewed the sides of the ribbon/felt combo to the orange knit fabric. I used hot glue at the top so there would not be a gap between them in the front. You can see the finished product at the bottom of this post.
DIY #2: Green Tulle Tutu
I bought two rolls of green tulle (apple green and emerald) at Hobby Lobby. They were 50% off so I paid $4.50 for both rolls. 
I used an ~11″ piece of cardboard to cut my strips of tulle. The cardboard should be able to length that you want your tutu to be. (The pieces will be twice as long as your piece of cardboard when you cut them BUT when you fold them in half to tie to the elastic they’ll be the size of your cardboard…make sense?!) Wrap the tulle around the cardboard then use your scissors to cut the tulle at the top of the cardboard. It will give you a bunch of equal-sized tulle strips. This is the pile of cut pieces from the emerald tulle. I wanted two colors in EJ’s tutu, so I did the exact same thing with the apple green tulle.
Measure the waist for the tutu– in my case, I measured EJ’s tiny waist. Cut the elastic to the size that you need for the waist. The elastic band will stretch so make it an inch or two smaller than the actual waist size. Sew the ends together to make an elastic circle.
Take two or three pieces of tulle, some apple green and some emerald green, depending on how full you want the tutu to look. Fold them in half to make a loop. Put the loop under the elastic and pull the ends of the tulle through the loop to make a knot. You can use another piece of cardboard (or the same on depending on size) to hold your elastic while you are looping and tying. I have used a small chair when making an adult-sized tutu.
To make EJ’s, I “came in” from the top of the elastic so my loop was pointing down. Then, I would pull the ends though and the knot was on top with the ends underneath, like the picture below.
If you are using three pieces of tulle for each knot, make sure that you alternate the color of tulle on top (like 2 apple green, 1 emerald beside 2 emerald and 1 apple green.)
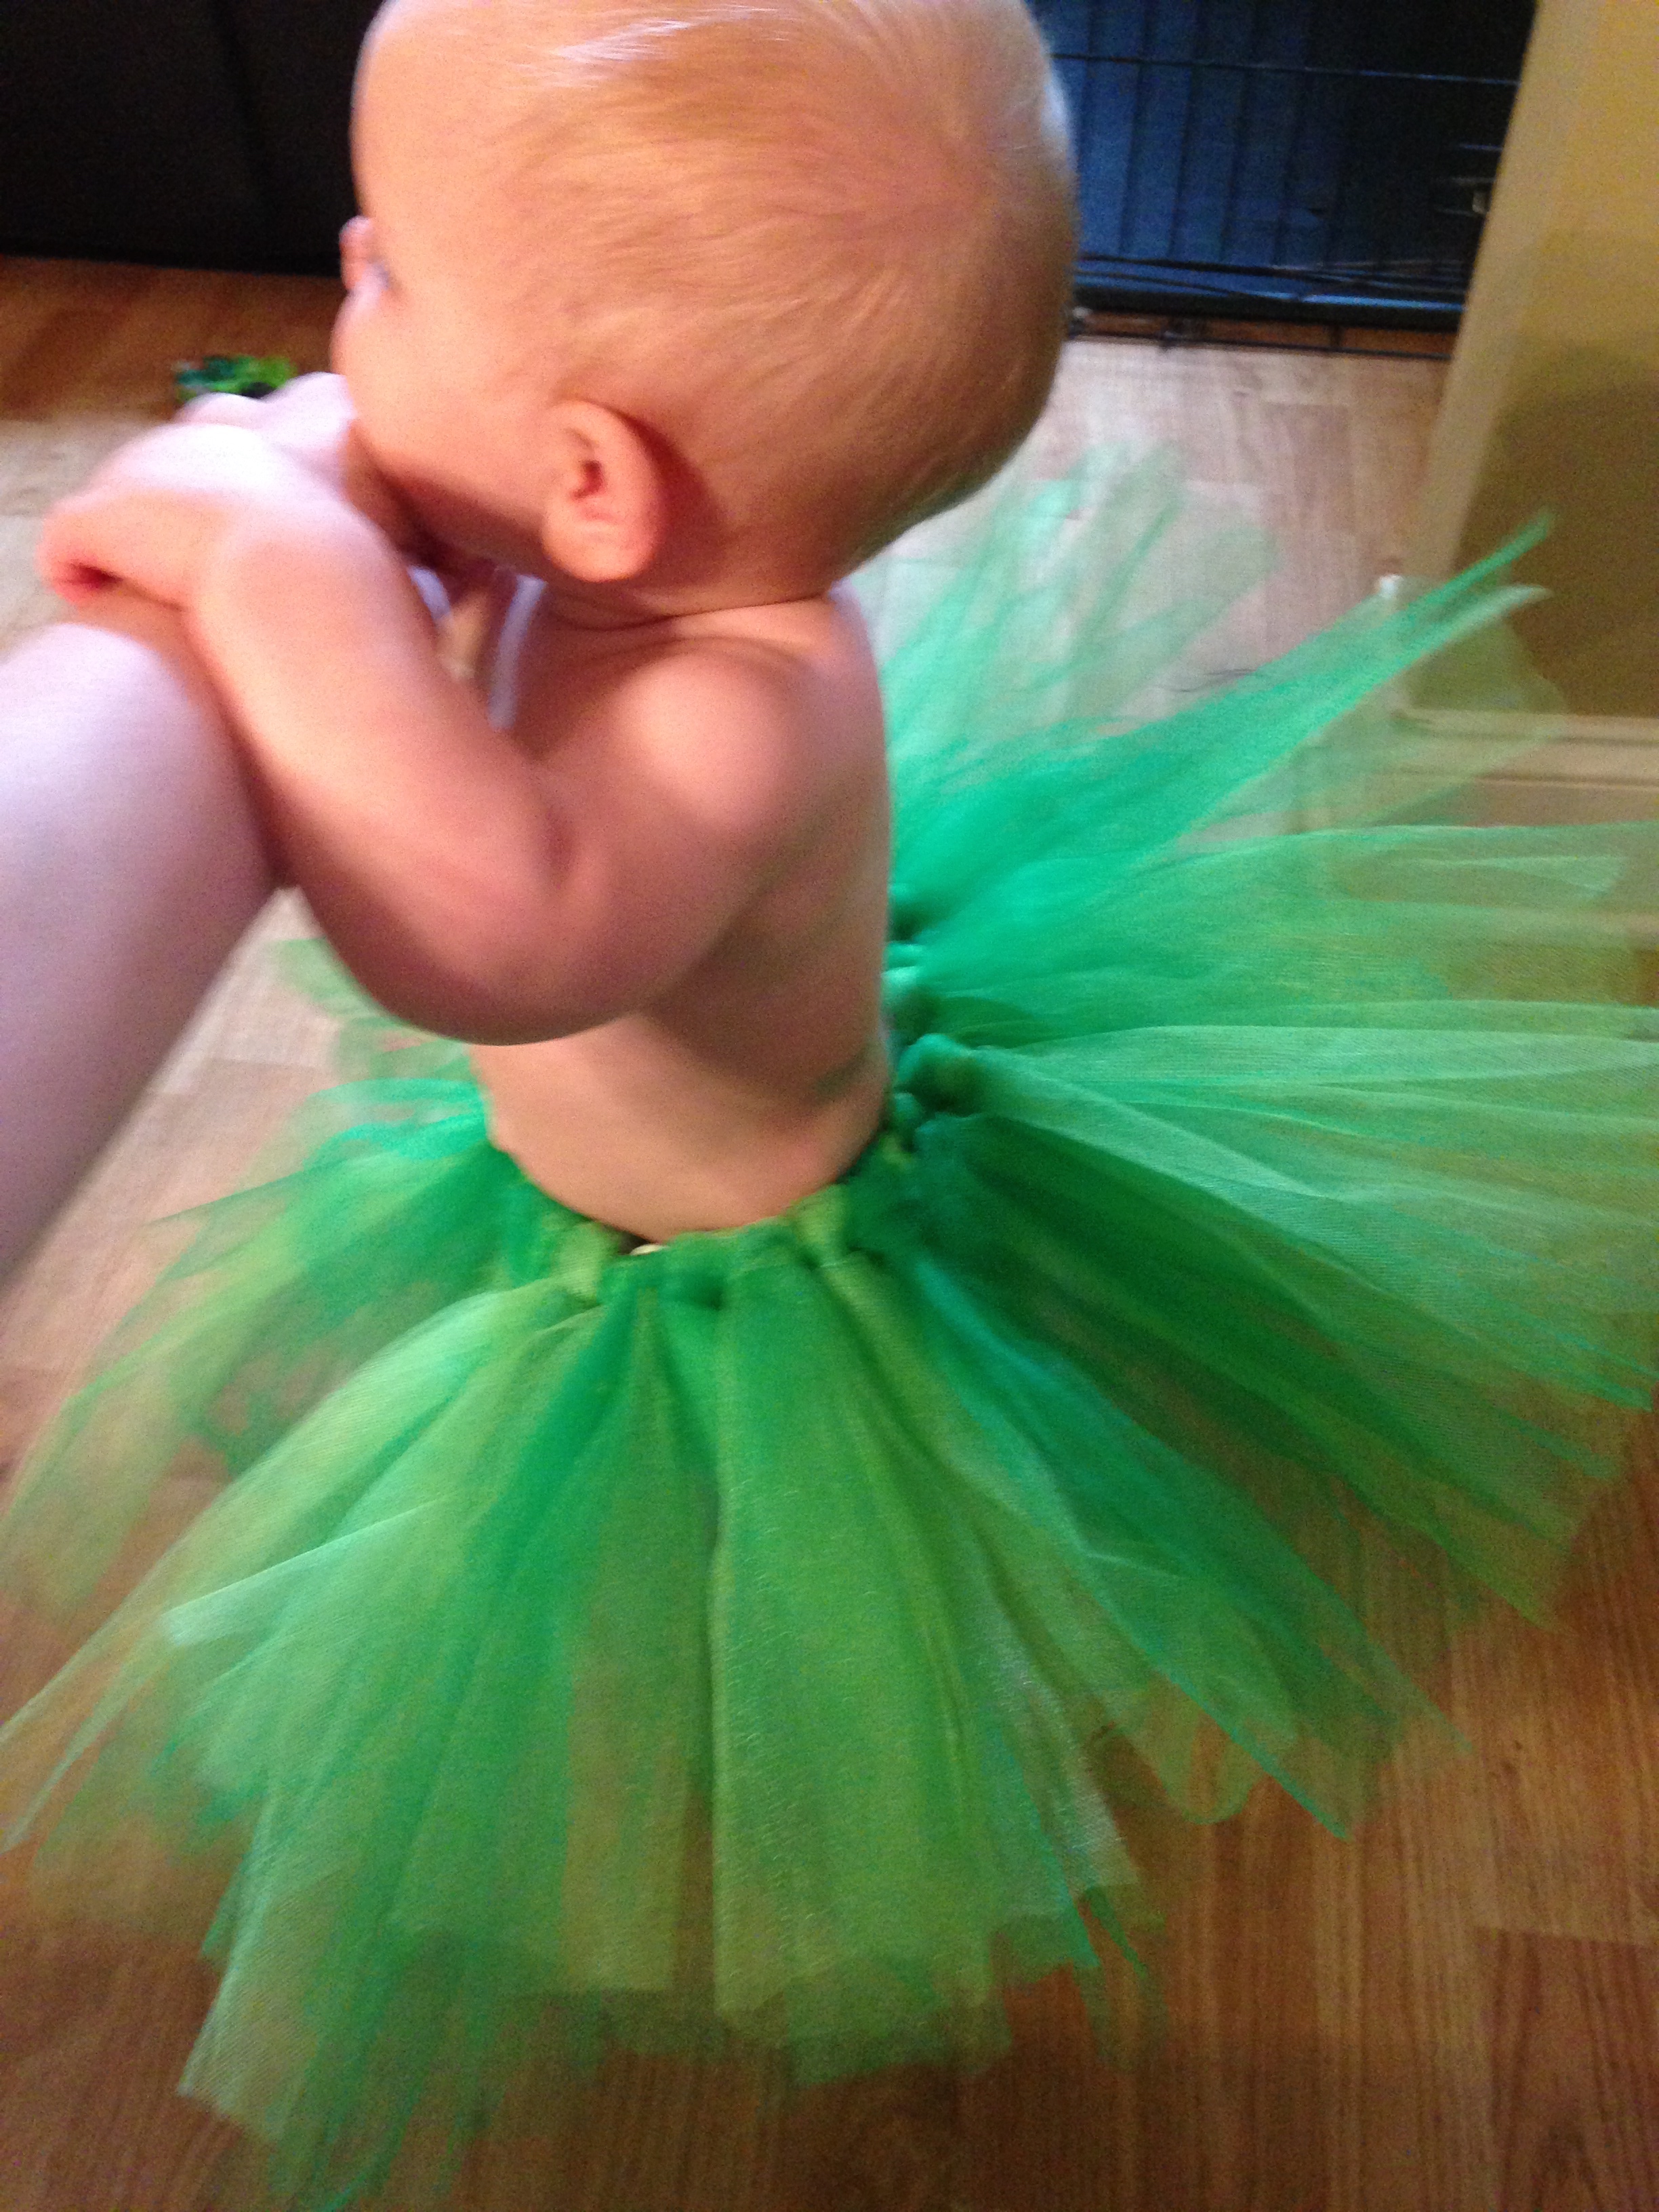
Here is what the finished tutu looked like on EJ! The finished look, top and tutu, is below 🙂
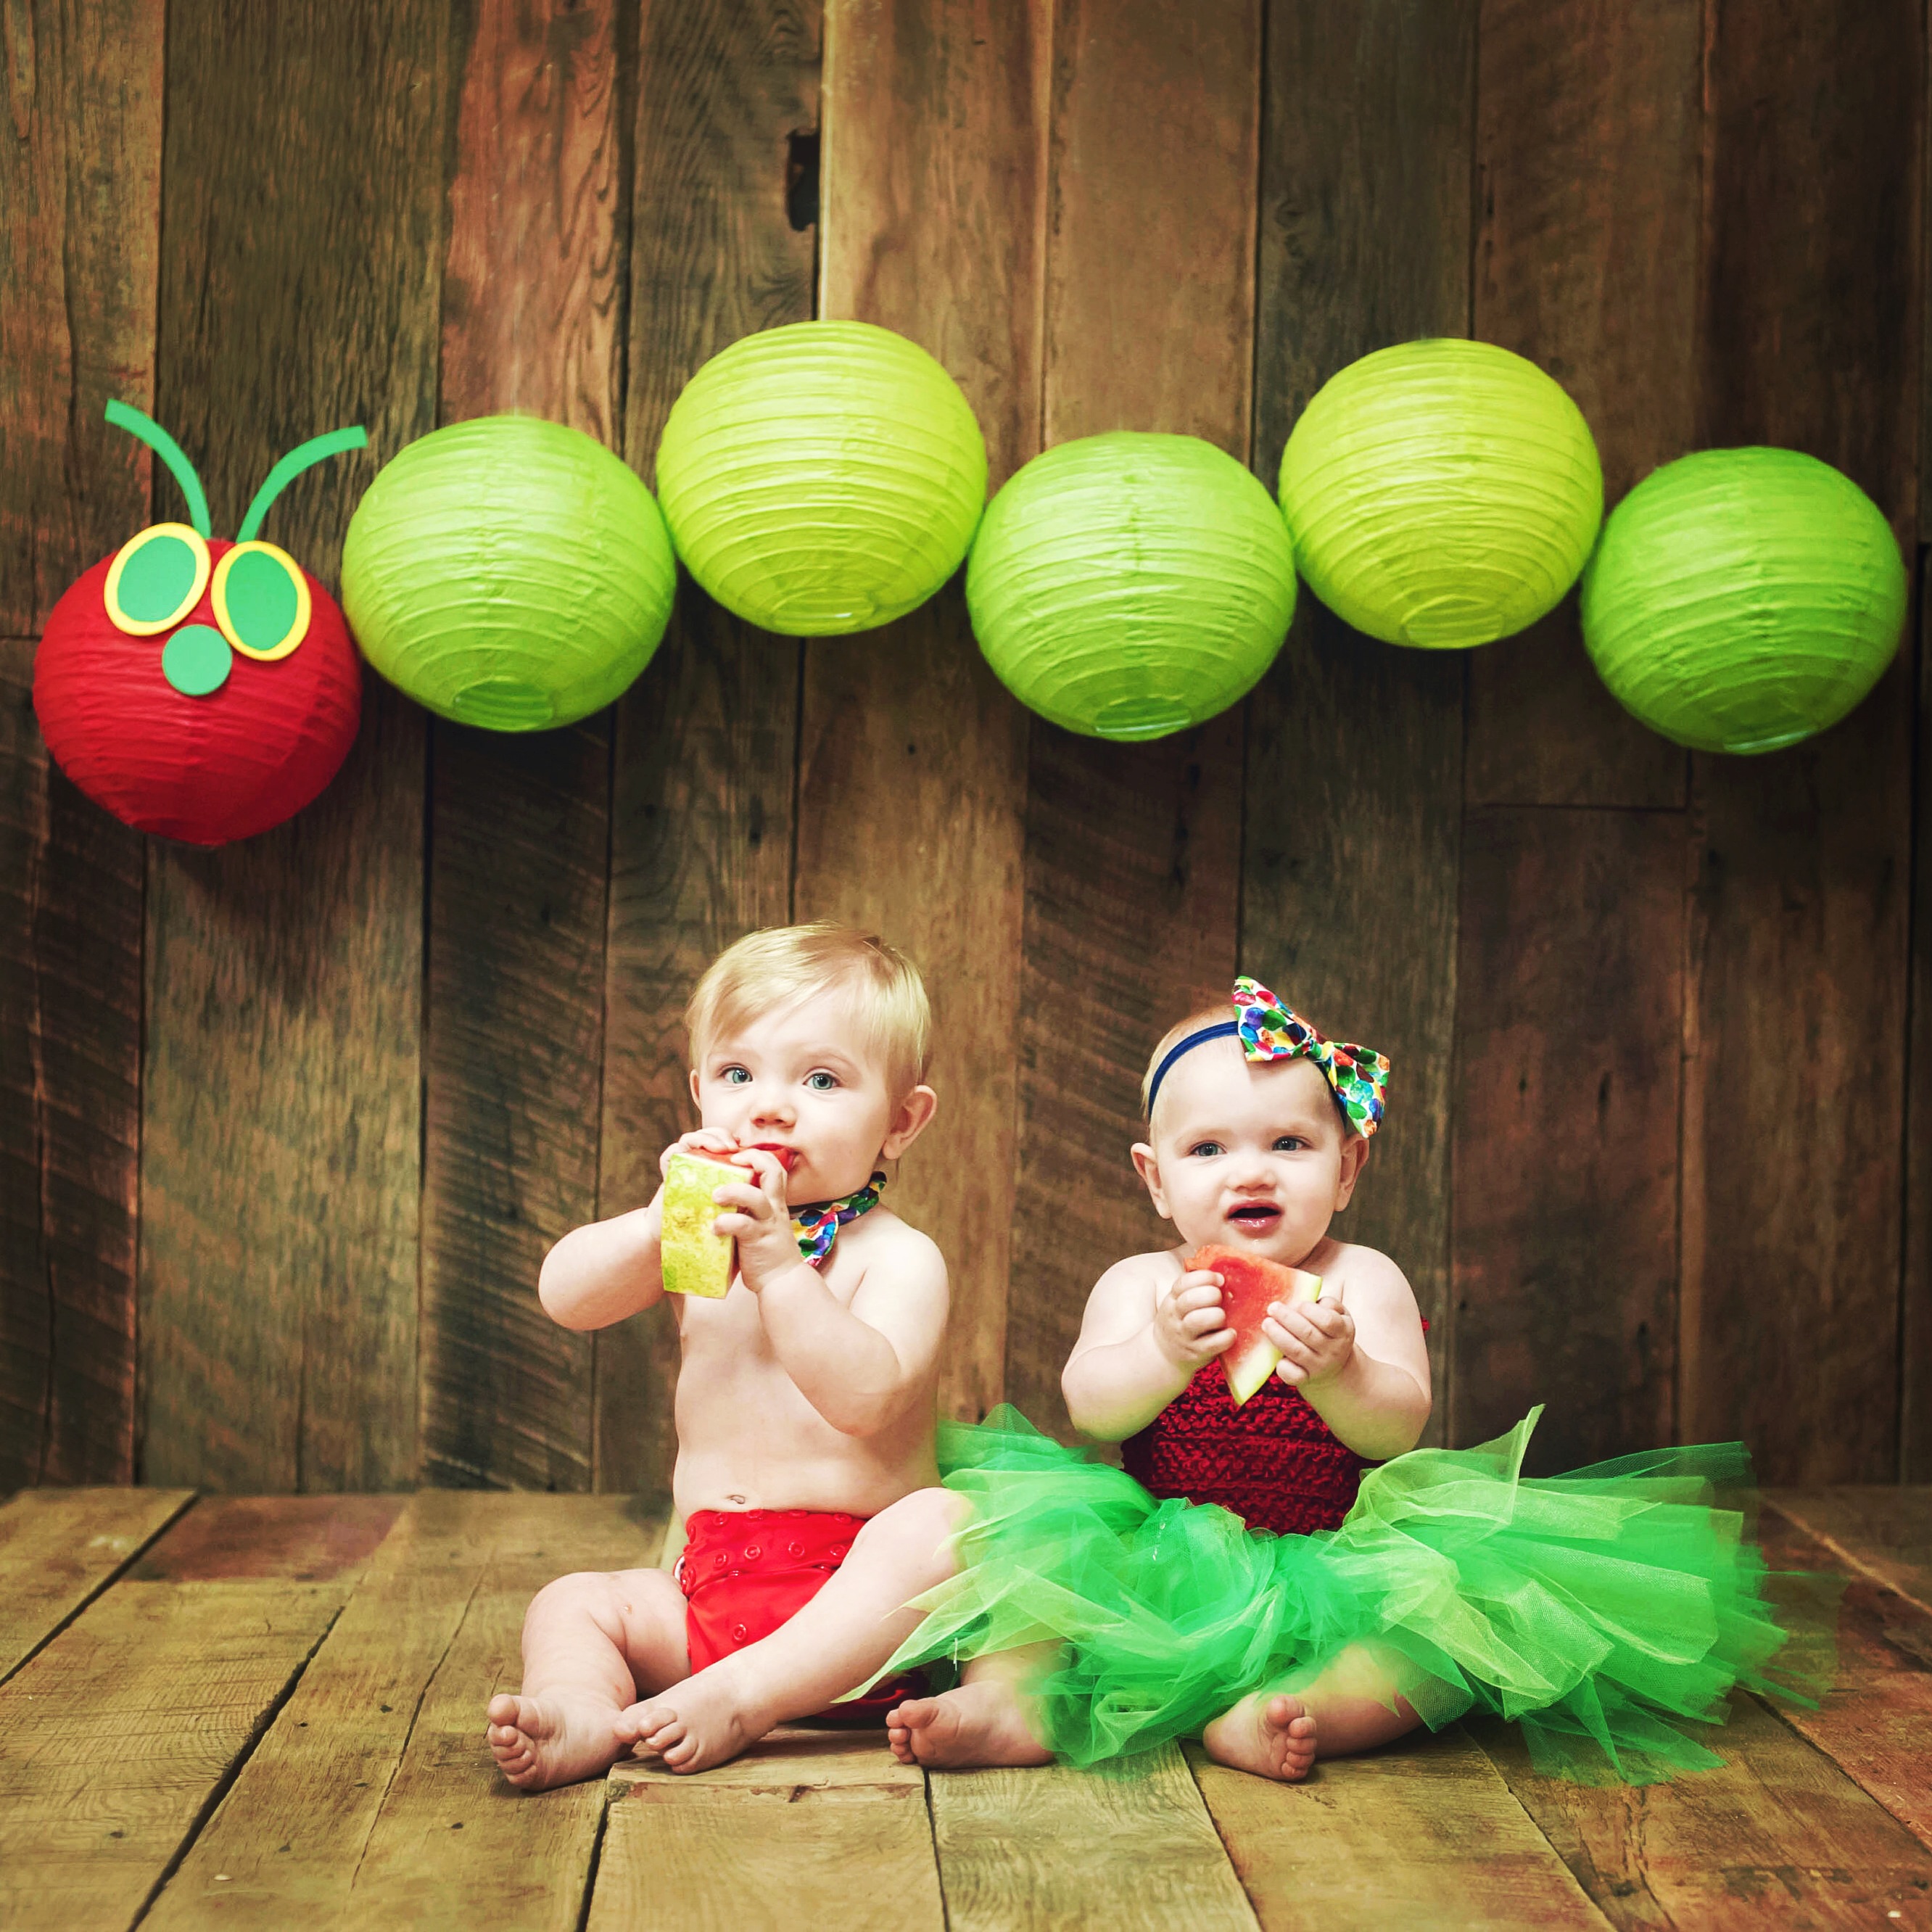
*EXTRA* DIY #3: Paper Lantern Caterpillar– super easy!! I went to Party City and bought the paper lanterns. They come in a pack of three, so I bought 2 packs of green lanterns. The greens were all “kiwi green” but you can tell that the two packs were slightly different shades so I alternated them for my caterpillar. I also bought a 3-pack of the red paper lanterns. I only needed one for the head, but I’ll use the other two at the birthday party. I used yellow and green card stock (and scotch tape!) for the face. I cut yellow ovals and green ovals for the eyes. I cut the green ovals smaller after and used the extra for the antennas then cut a green circle for the nose. SO easy! The paper lanterns come with string to hang them so I will use them again for birthday party decor!
The bow tie and hair bow were made by TN Love & Promises 🙂
