

This is the “how-to” for Noah’s lightsaber invitation. If you are interested in the Pinterest pins that I used, just click on the picture and it will take you to that page 🙂


I used these two pins for the wording and overall design of the invitations.
Materials: Computer, Printer, Cardstock (green, yellow, red, orange and gray,) Glue Dots, Black and Red Sharpies, Scissors, Pencil, Tan Envelopes and Stamps for mailing the invitations to guests
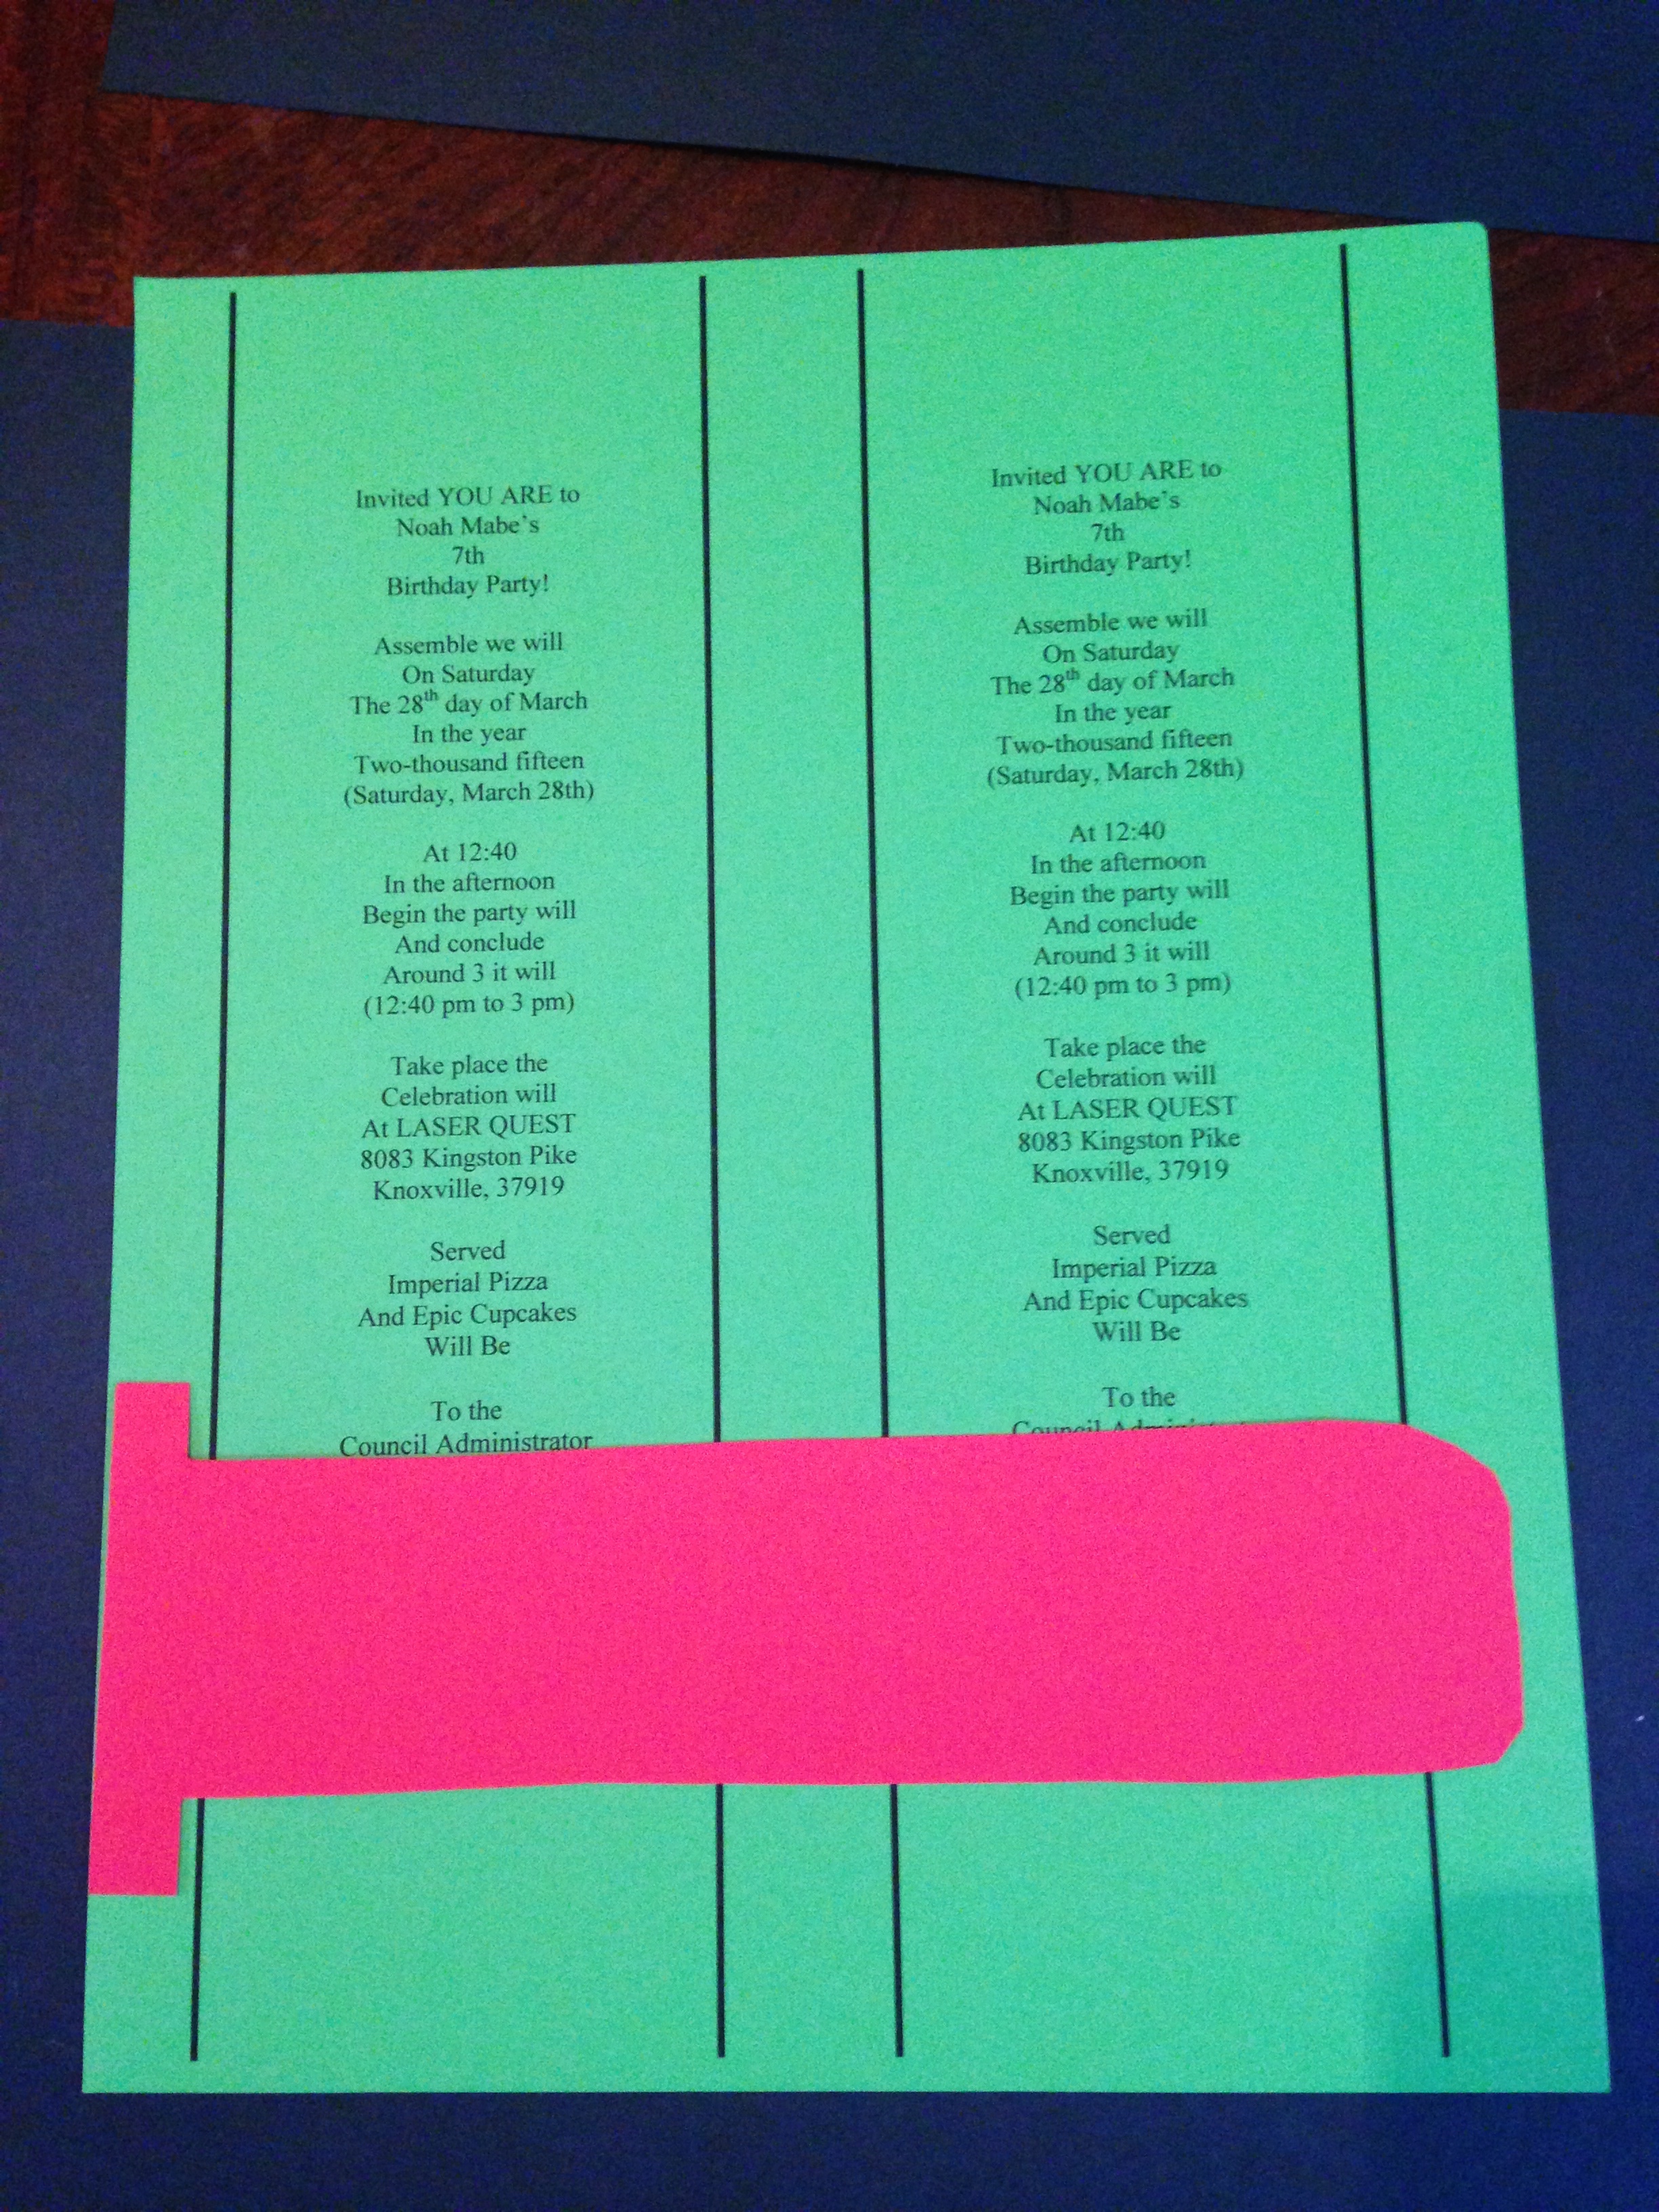
I typed the invitation in Word on the computer and printed it on the different colors of cardstock. I bought the cardstock, glue dots and tan envelopes at Hobby Lobby. I printed a couple sample invitations on white paper so that I could play around with the shape of the lightsaber. It had to fit in the envelope for mailing, so it took a couple of tries to get the right shape.
I made a sample for the base of the lightsaber, then traced it several times on gray cardstock. You need 2 “bases” per lightsaber– the front and the back.
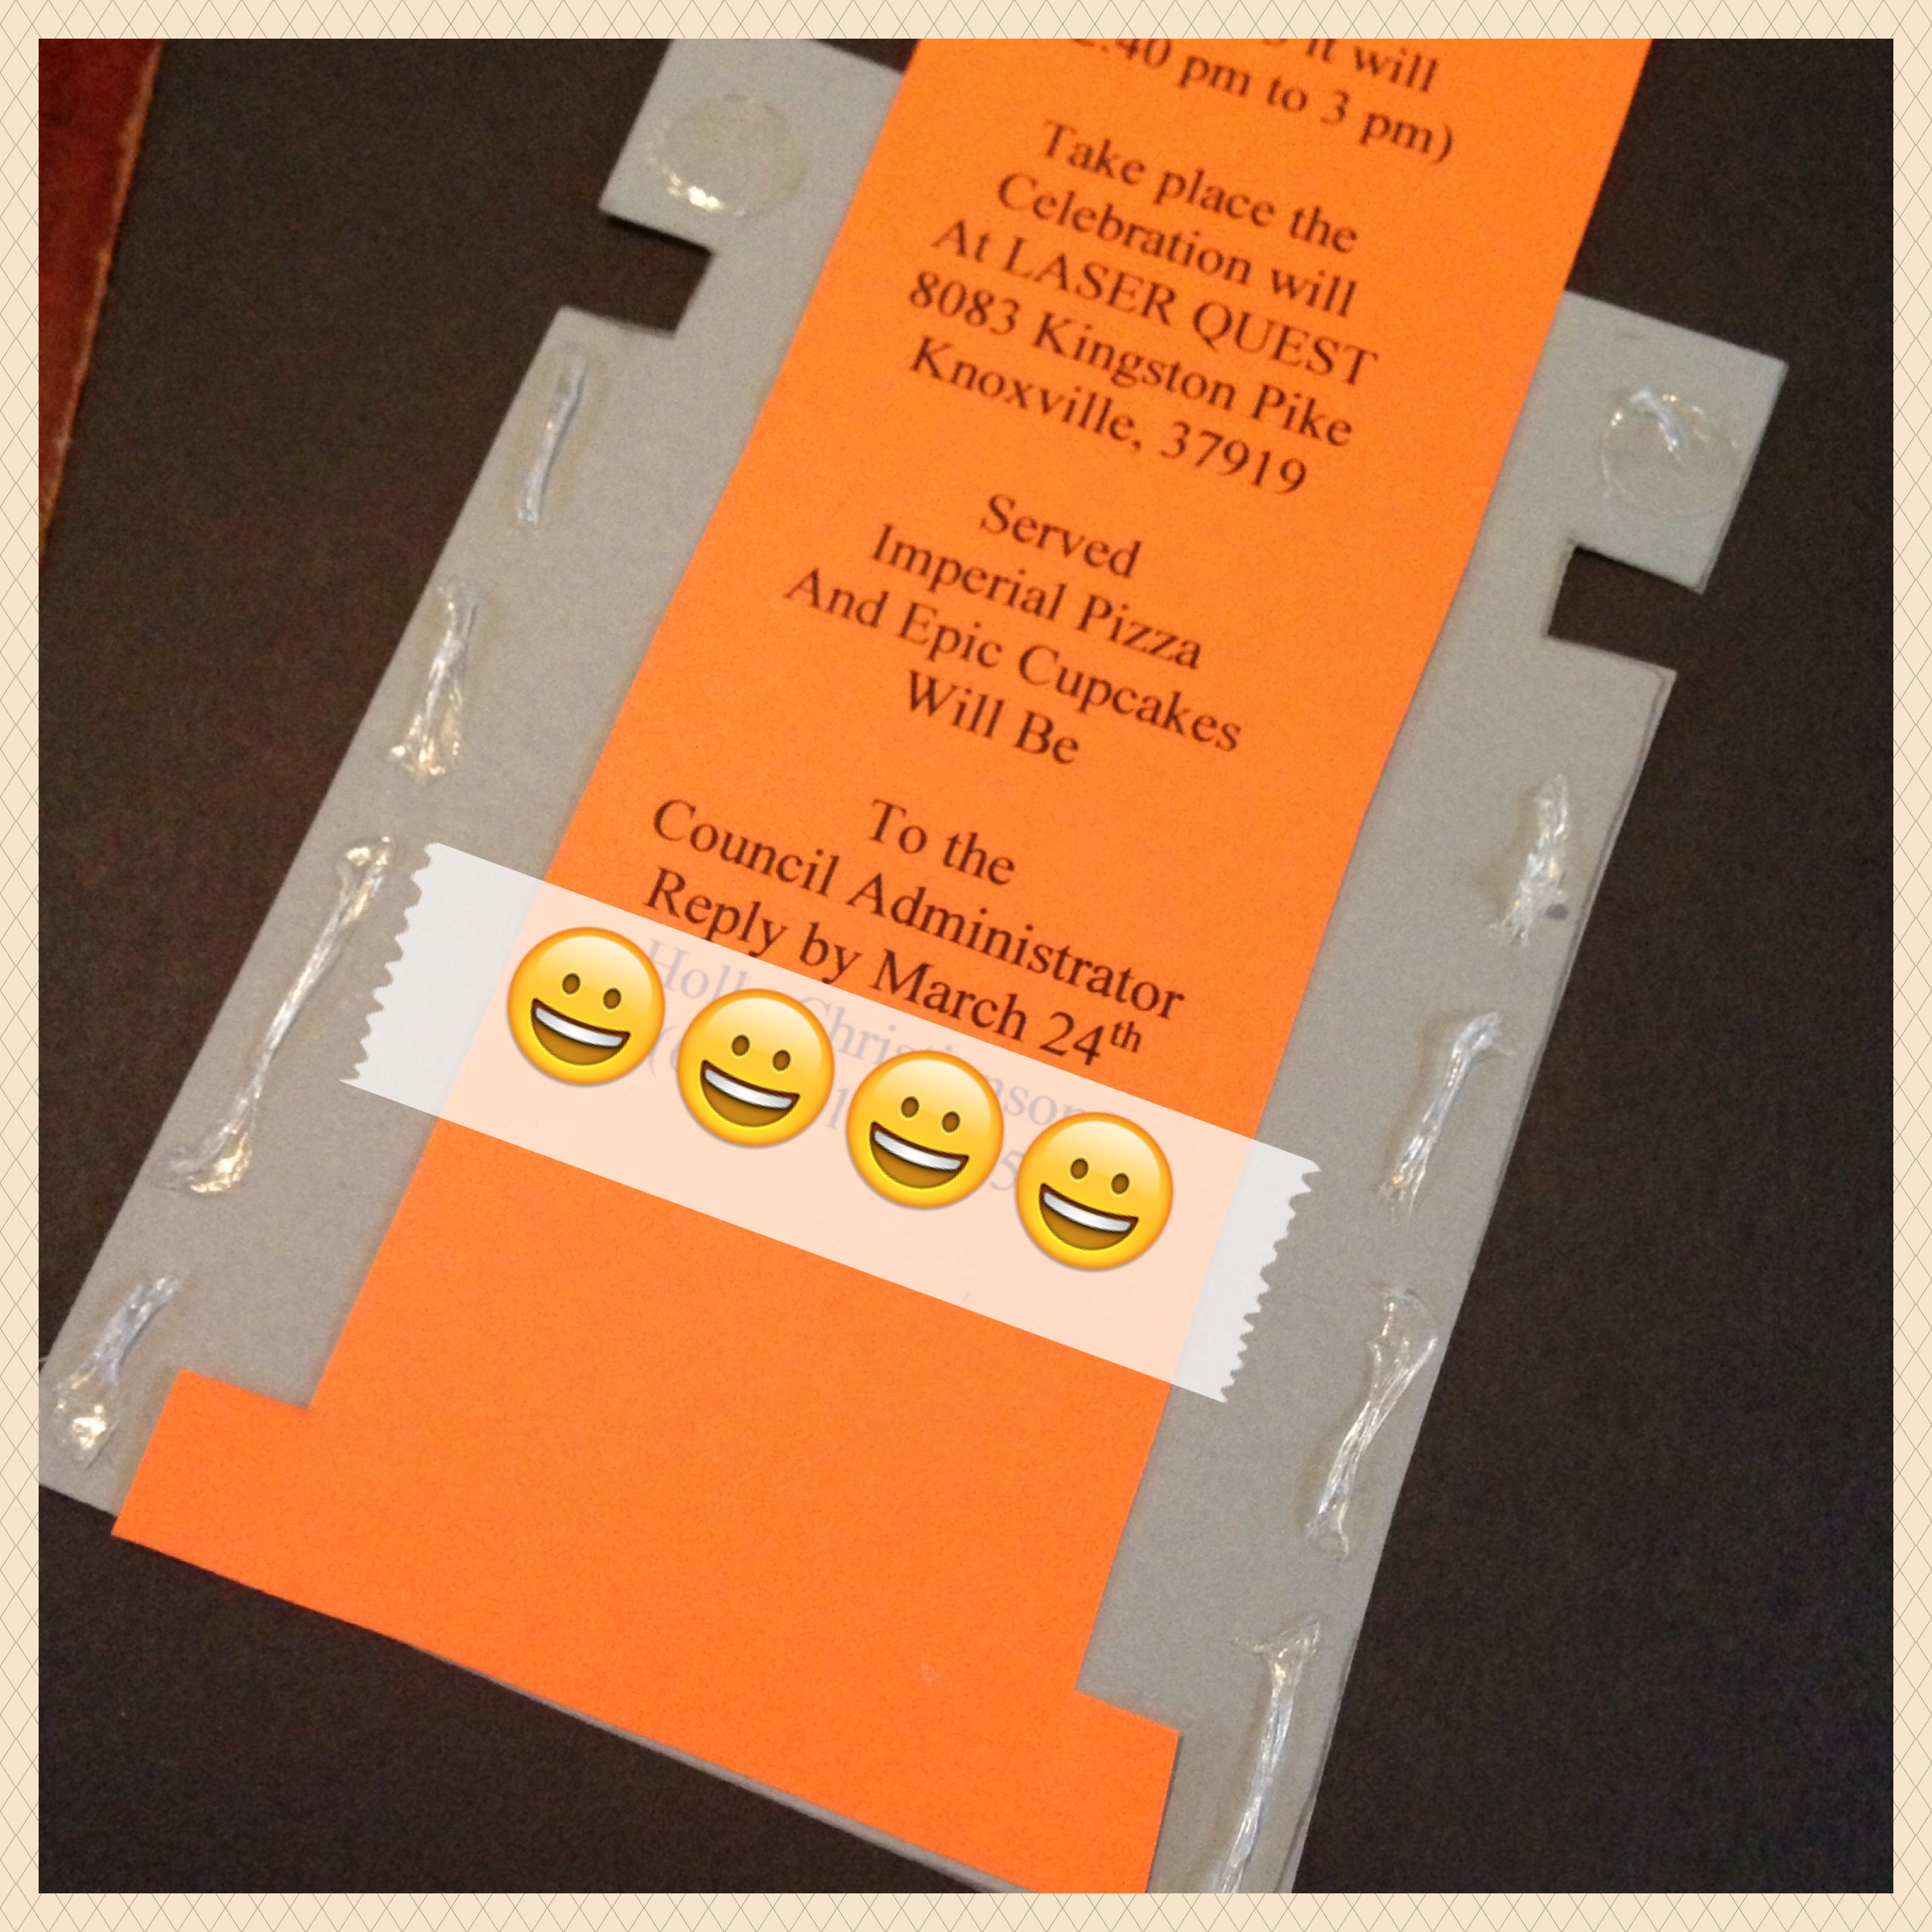
I used glue dots for this project. I had to wad them up to get them skinny enough for the inner paper to slide. If I did this project again, I would have used one of those glue pens from Hobby Lobby. A pen like that would have been SO MUCH faster.
After I had the lightsabers glued together, I used a black sharpie and a red sharpie to add details to the base of each lightsaber. I bought black cardstock to cut for this, but I was OVER this project by this point. Sharpie worked great and we still got tons of compliments on the invitations.
Here is the completed stack of lightsabers. Ready to be stuffed into the envelopes and mailed to our party guests!
This is a shot of how the invitation looked when it was received and how it looked when it was extended. It was a lot of work, but it turned out really COOL! Noah loved them, so it was all worth it 🙂
